
Introduction
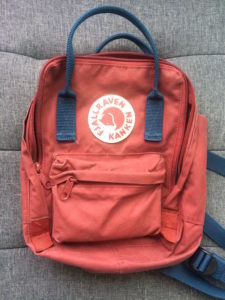
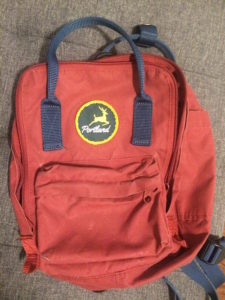
My wife bought this awesome bag in Amsterdam. It’s the perfect size, functional, and stylish. After having had it for two years, it’s time for an update.
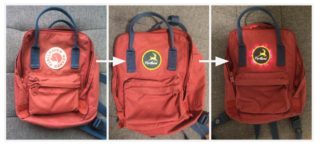
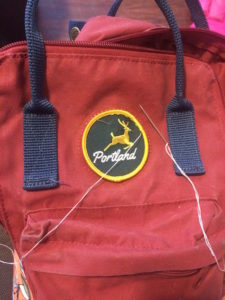
She wanted to add a new patch, covering up or getting rid of the old one. Once we found the perfect patch, it was just slightly smaller than the old one, so we removed the old patch, which left a ring of tiny holes around the new patch.
Once we added the patch we decided to attach some LED lights to the inside to light up the new patch at night and for biking in style!
Materials
- A bag of some sort with a patch on it.
- Small scissors or knife for cutting thread and for cutting out the old stitching
- A new patch
- A needle
- Thread
- (optional) Some LEDs or lights
- (optional) Batteries
Steps
- Think about your project, brainstorm, make a list, draw some pictures, wrap you head around your project
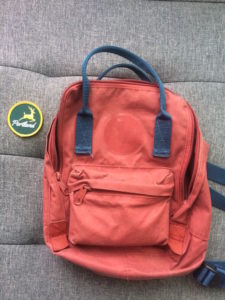
- Find you new patch
- Figure out how you’re going to attach your new patch (remove old patch or sew over it?)
- If necessary, remove the old patch
- Attach the new one
- Figure out if/how you want to incorporate LED lights
Extra
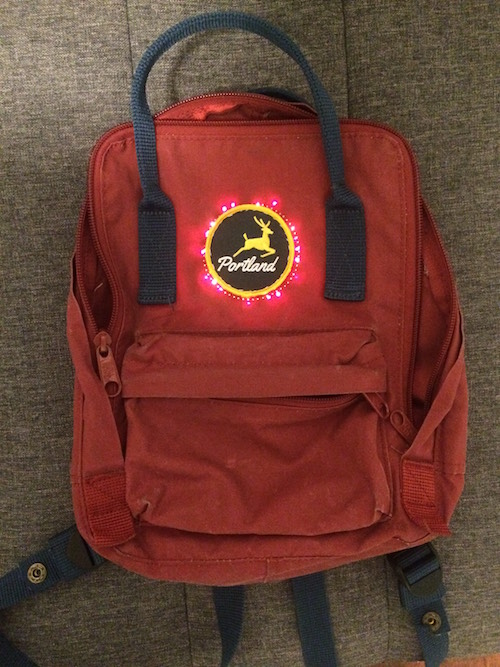
Because we sewed on a new patch, we were able to thread the LEDs through the stitching in the back. Because the threading on the lights is thin copper wire, it is flexible, while keeping its shape once it’s formed.
Because the holes from the old patch make a perfect circle around the new one, light from the LEDs spills out of the holes and almost looks like the eclipse.
PS – It also pours light out of the top of the bag at night when you open it to look or grab inside.