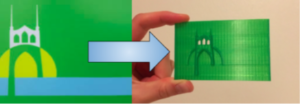
There is so much joy and learning to be had when making something!
The example here uses something as simple as tracing.
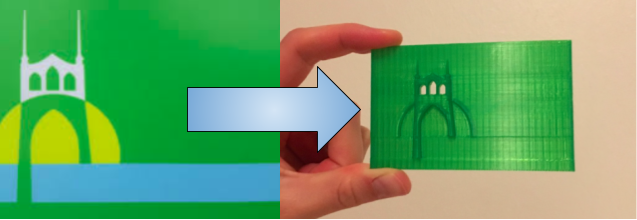
- Pick something cool yet simple to trace. I picked my neighborhood’s flag.
2. Use a 3D drawing software (Fusion360) to create a sketch, and attach a picture.

3. Extrude your sketch to varying thicknesses, each thickness representing a color. (While keeping in mind the structural integrity of the piece) darker colors should be thicker, lighter colors thinner. For items of the same color, the same thickness should be used, unless there is some feature required to stand out (even though the background and the bridge are the same color, I wanted the bridge to “pop” out, so I extruded it the furthest. That is to say the thickest part of the print).
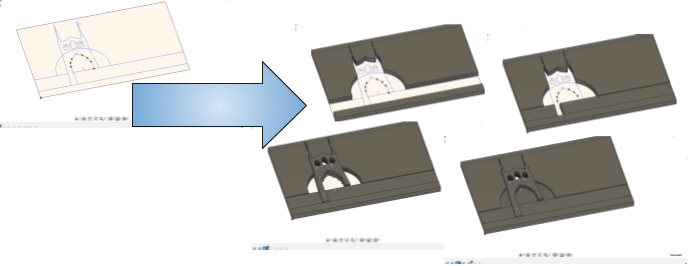
4. Print! Ship! Publish! Observe! Share!

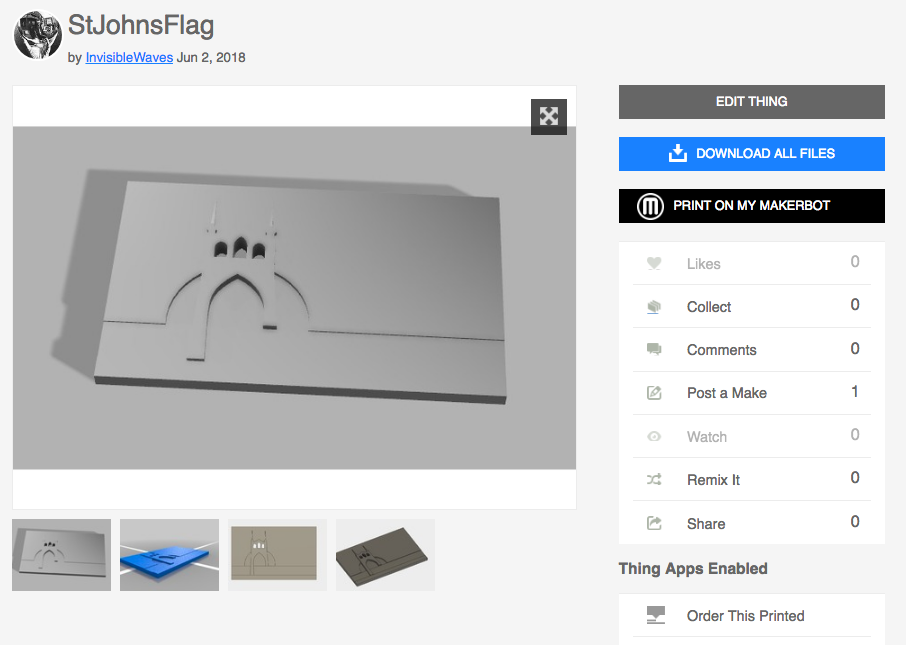
PS – If you want to print your own, go to Thingverse and download the files!
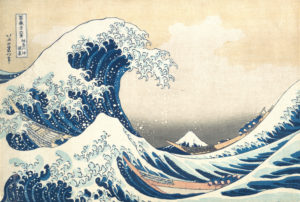
PPS – This technique of different thicknesses is actually an ancient technique. In Japan, thin sheets of wood, with the face of them painted a single color, were glued together one on top of the other to create a stack. Then, a picture would be drawn on the top sheet (don’t quote me on exactly the details here, I’m not a historian, I’m a designer and a maker, so all I need is the idea/technique). Then, a chisel (or something) is used to cut down to the desired color. One of the most famous images on Earth was created using this method and is pictured below.
